This guide details how to install and use EmuDeck to play Sega Game Gear games on your Steam Deck, enhancing performance with Decky Loader and Power Tools.
Before You Begin: Essential Preparations
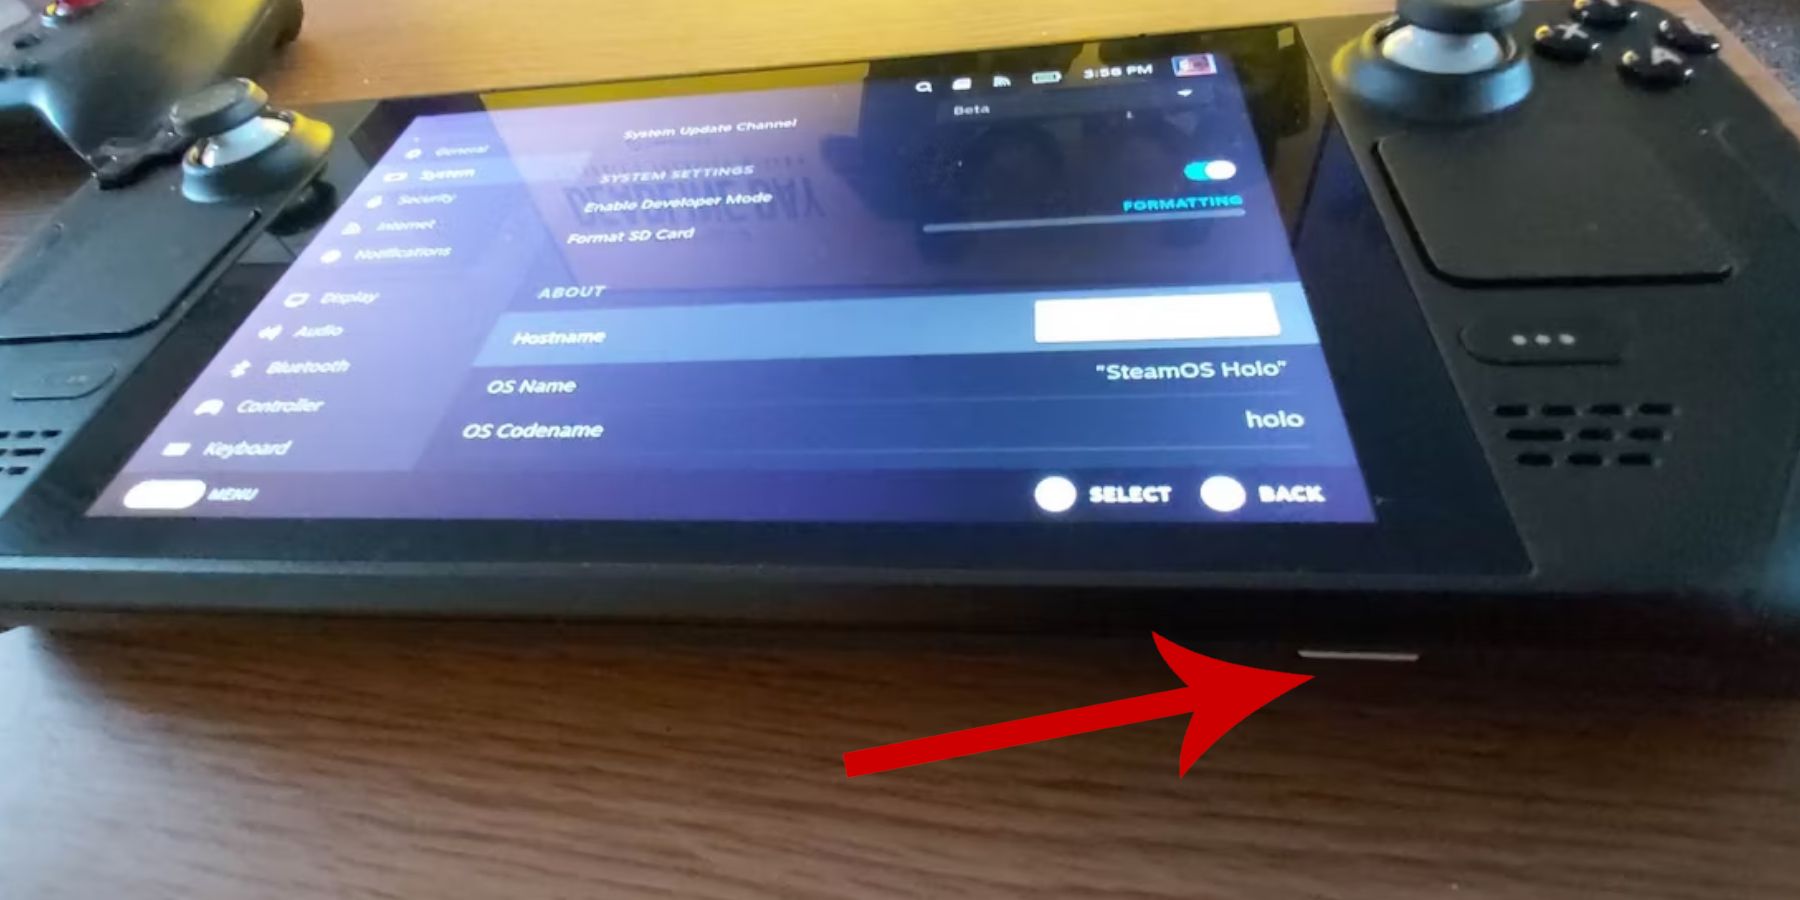 Before installing EmuDeck, ensure you've enabled Developer Mode and CEF Remote Debugging in your Steam Deck's settings. Restart your Steam Deck after enabling these options. You'll also need:
- External Storage: An A2 microSD card (or external HDD connected via dock) is crucial for storing ROMs and emulators, preserving your internal SSD space.
- Input Devices: A keyboard and mouse significantly simplify ROM transfer and artwork management.
- Legal ROMs: Only use ROMs of games you legally own.
Installing EmuDeck
 Follow these steps to install EmuDeck:
- Switch your Steam Deck to Desktop Mode.
- Download EmuDeck from its official website.
- Choose the SteamOS version and select "Custom Install."
- Select your microSD card as the installation location ("Primary").
- Choose your desired emulators (RetroArch, EmulationStation, Steam ROM Manager are recommended).
- Enable "Auto Save."
- Complete the installation.
Quick EmuDeck Settings
Within EmuDeck, access "Quick Settings" and:
- Ensure "AutoSave" is enabled.
- Enable "Controller Layout Match."
- Set "Sega Classic AR" to 4:3.
- Turn on "LCD Handhelds."
Transferring ROMs and Using Steam ROM Manager
 Transfer your Game Gear ROMs to the
 /Emulation/ROMs/gamegear folder on your microSD card. Then:
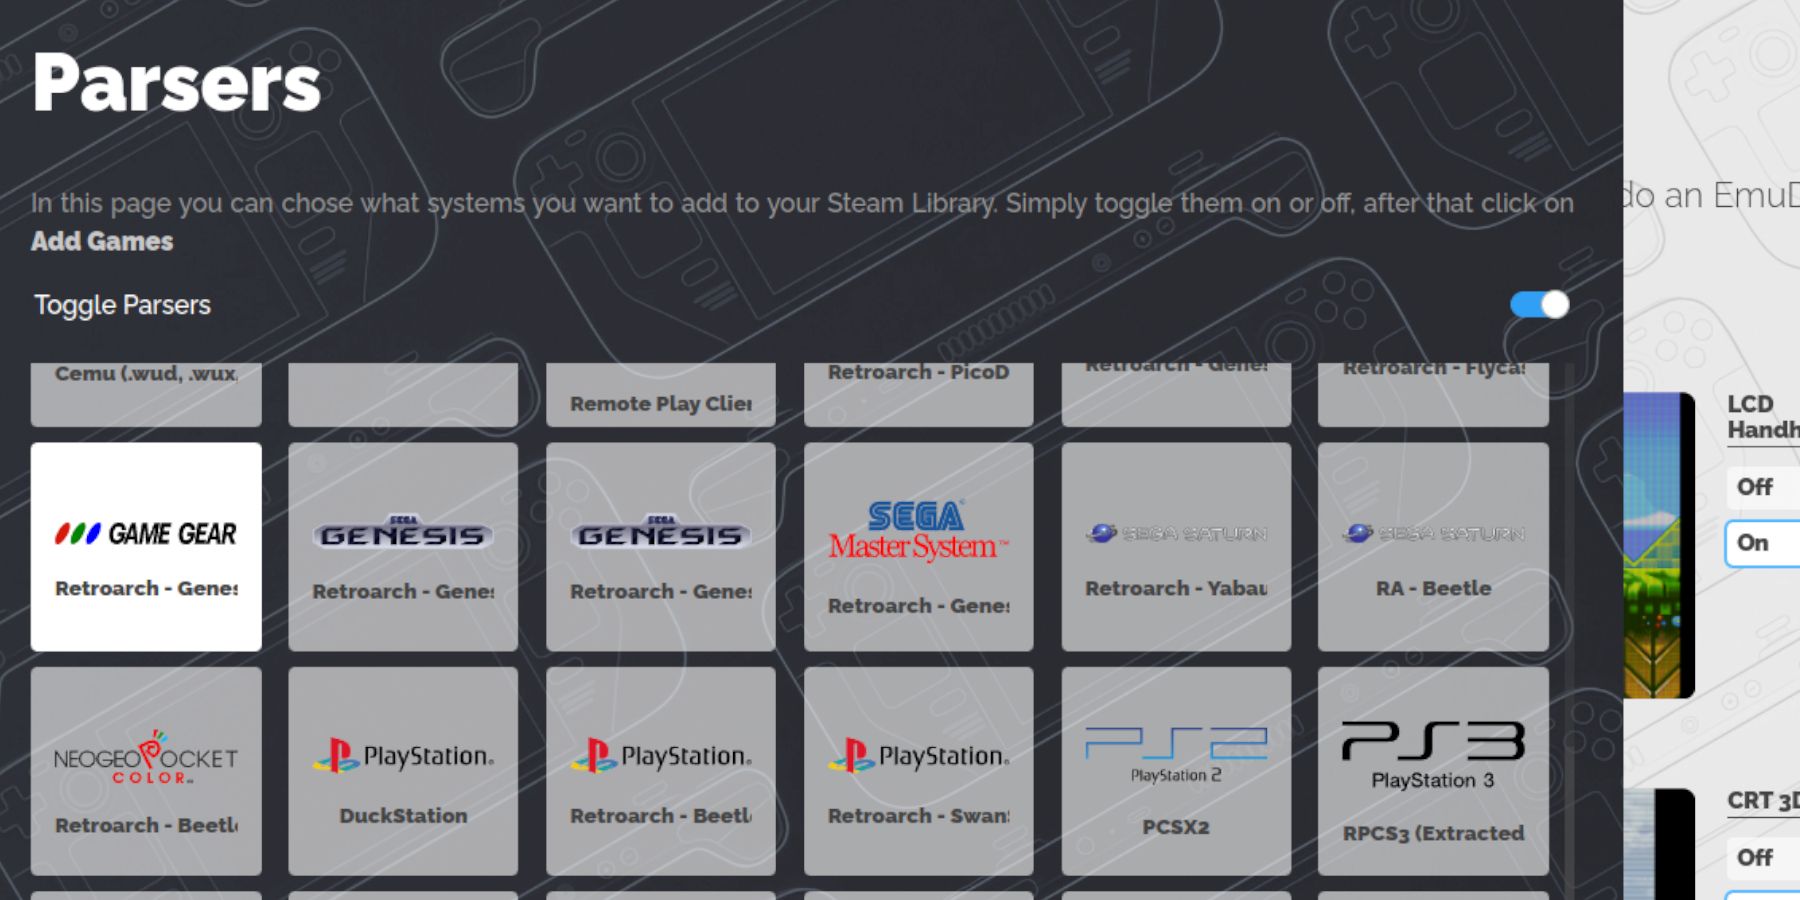
- Open EmuDeck and launch Steam ROM Manager.
- Close the Steam client when prompted.
- Select the Game Gear icon in SRM.
- Add your games and parse them.
- Verify artwork and save to Steam.
Fixing Missing Artwork
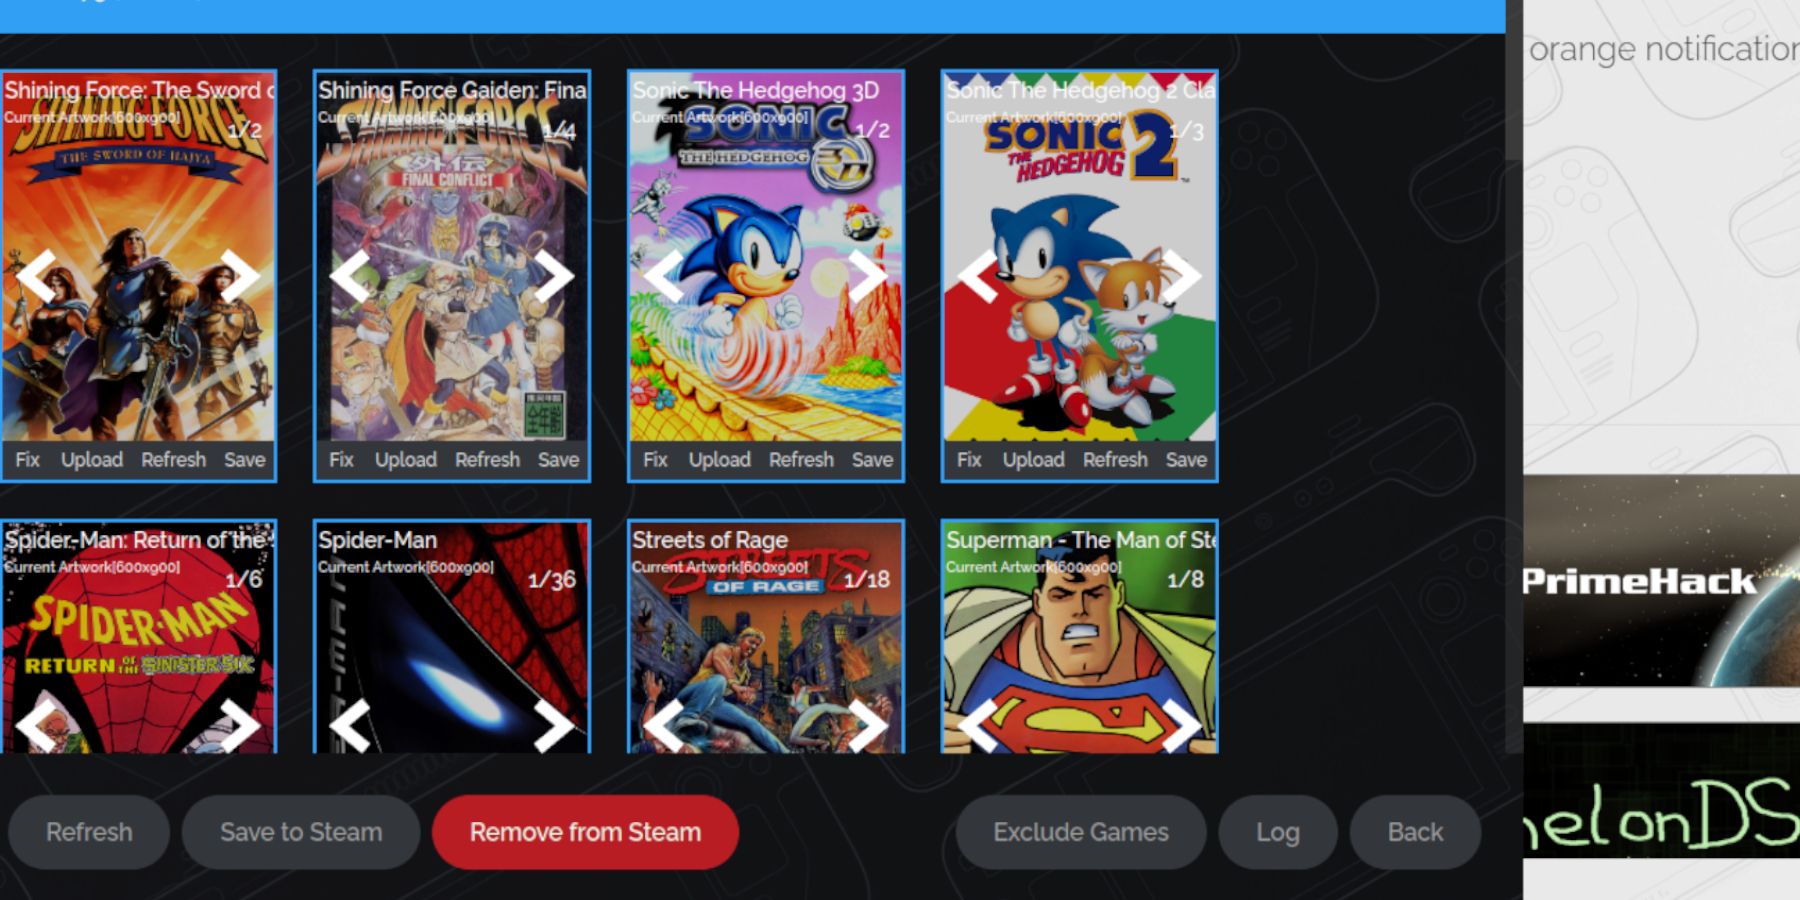 If artwork is missing or incorrect:
- Use SRM's "Fix" function to search for and download correct artwork.
- Ensure ROM filenames don't contain numbers before the game title, as this can interfere with artwork detection. Rename files as needed.
- Manually upload missing artwork via SRM if automatic fixes fail. Download the artwork and save it to the Steam Deck's "Pictures" folder before uploading.
Playing Your Games
- Switch to Gaming Mode.
- Access your Game Gear games via the Steam Library's Collections tab.
- Launch your chosen game.
Optimizing Performance (60 FPS)
To achieve a smoother 60 FPS experience:
- Access the Quick Access Menu (QAM).
- Go to Performance.
- Enable "Use per-game profile."
- Set the "Frame Limit" to 60 FPS.
Installing Decky Loader and Power Tools
 For enhanced performance and features:
- Switch to Desktop Mode.
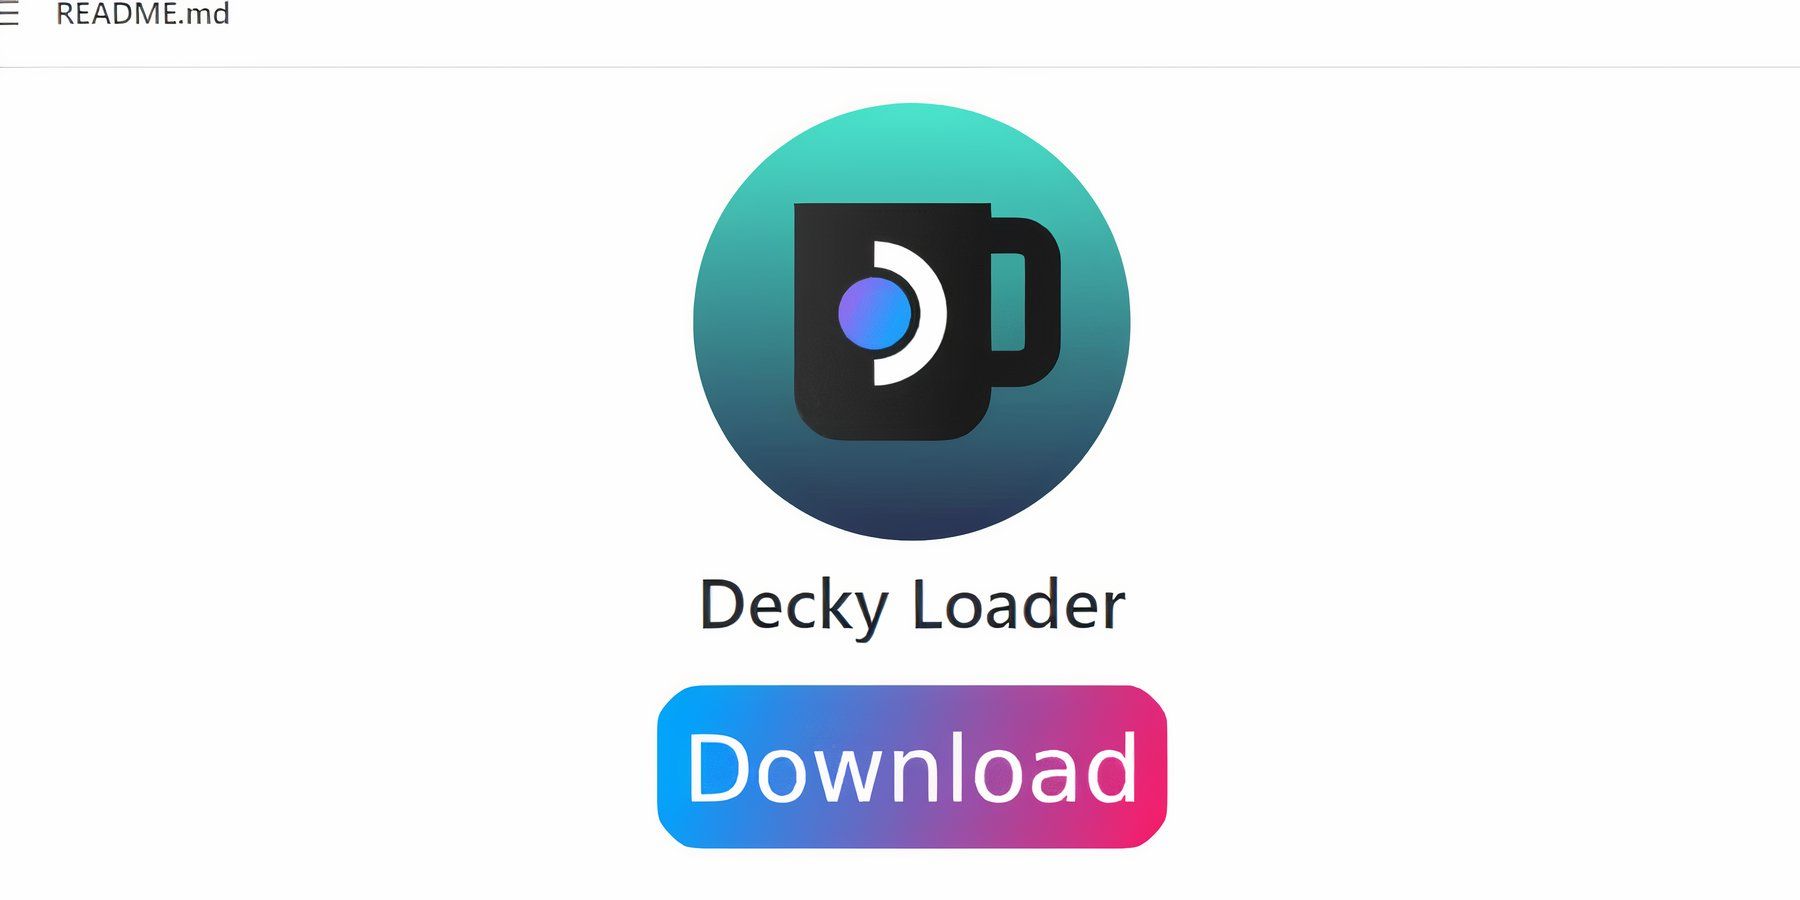
- Download and install Decky Loader from its GitHub page. Choose "Recommended Install."
- Restart your Steam Deck.
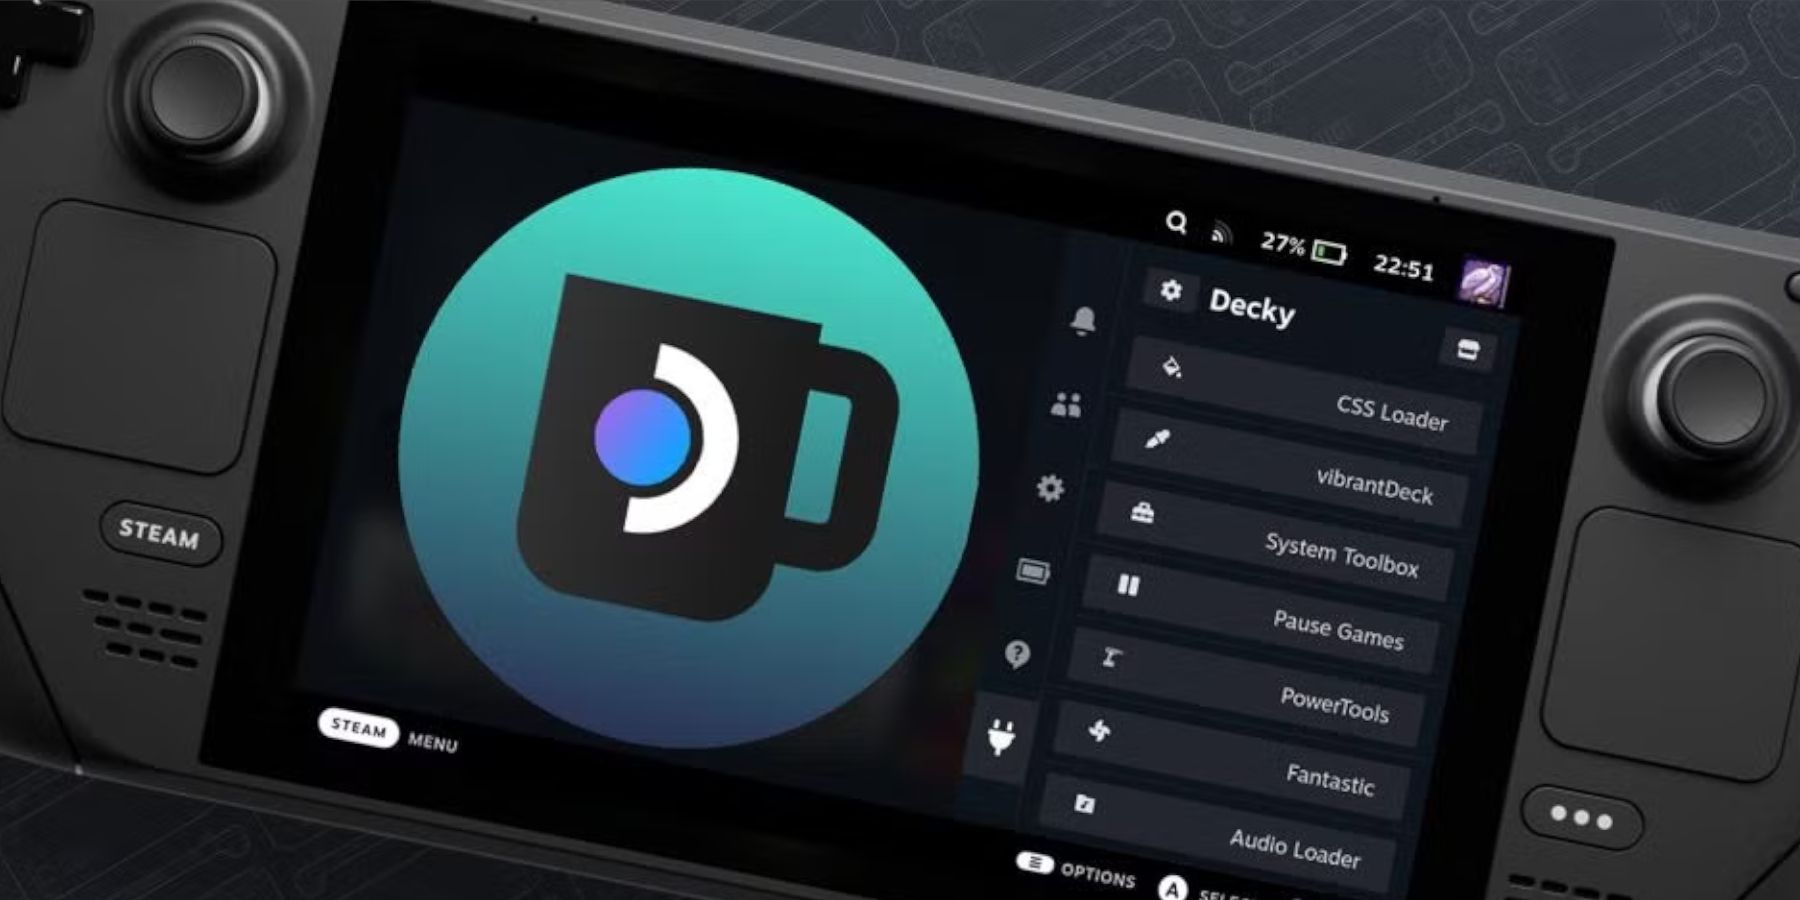
- In Gaming Mode, access Decky Loader via the QAM.
- Install the "Power Tools" plugin from the Decky Store.
Configuring Power Tools
Within Power Tools:
- Disable SMTs.
- Set the number of threads to 4.
- Enable "Manual GPU Clock Control" and set the GPU clock frequency to 1200 MHz.
- Enable "Per Game Profile" to save settings for individual games.
Restoring Decky Loader After a Steam Deck Update
 If a Steam Deck update removes Decky Loader:
- Switch to Desktop Mode.
- Re-download Decky Loader. Select "Execute" (not "Open") to preserve settings.
- Enter your sudo password when prompted.
- Restart your Steam Deck.
 Enjoy your Game Gear games on your Steam Deck!
 LATEST ARTICLES