If you enjoyed Dead Rails on sails, you're in for a treat with the latest update to Dead Sails, despite its challenges. Mastering the Seven Seas and taking down the formidable Kraken might seem daunting, but fear not—there's no need for trial and error. I've crafted this comprehensive Dead Sails Kraken Guide to help you navigate the new content, accelerate your progression, and amplify your enjoyment.
Recommended Videos
Table of contents
Dead Sails Kraken Boss Guide
Dead Sails Kraken Tips And Tricks
How to Defeat the Kraken Boss in Dead Sails
Dead Sails Kraken Boss Guide
Your journey begins in the heart of town, across from the Gun Store and Hospital and in front of the Trading Hut. Start by offloading any excess loot and gearing up. In my opinion, a Rifle is the way to go—it's just $75 and packs enough punch to fend off most enemies, at least temporarily. Don't forget to stock up on coal to keep your boat's old-school engine running.
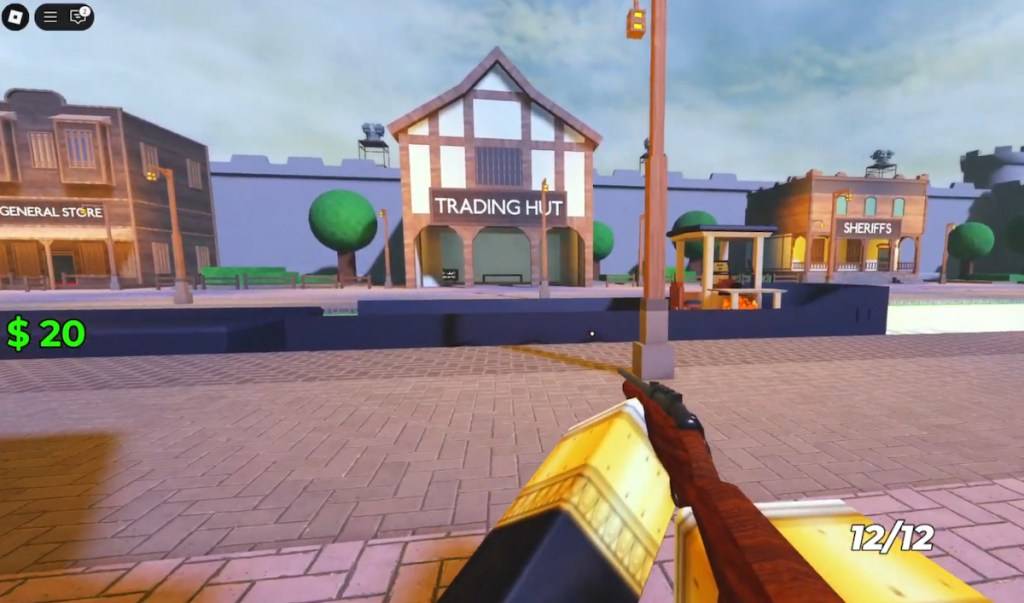 Screenshot by Destructoid
The next town is 10,000m away, so fire up your boat and set sail. You can stop to take out and loot Zombies and Drowned, but it's not always worth it; there aren't many valuables in the side houses. To get moving again, just add more coal. Don't let the worm on the right side spook you. Wait until the second safe zone to sell your loot, but keep an eye out for Big Foot and Zombie mobs along the riverbanks.
 Screenshot by Destructoid
After reaching the second safe zone/town, you'll see many burning buildings teeming with mobs. It's best to clear them out with friends; otherwise, it's not worth the time due to the scattered spawn points. At around 12,000m, you'll find a castle-like house filled with Drowned and valuable loot like Shotgun ammo. Make sure to use your resources wisely.
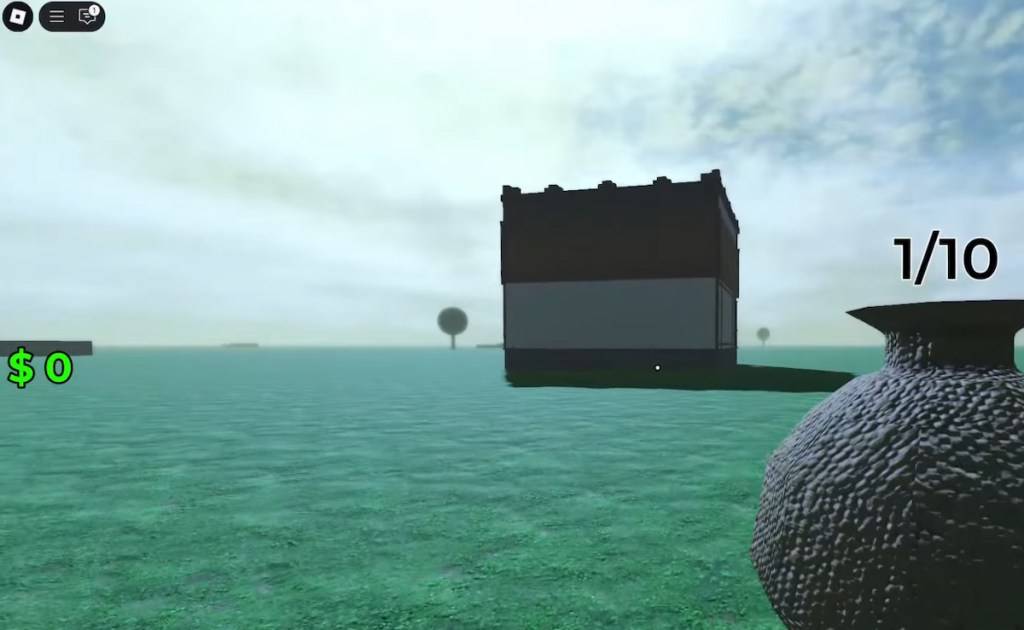 Screenshot by Destructoid
Dead Sails Kraken Tips And Tricks
By now, the gameplay loop is clear—kill, loot, repeat, and hope for enemy defeat. To become a pro, focus on efficiency by using your boat as your main storage. Empty your bag when you return to save both time and space.
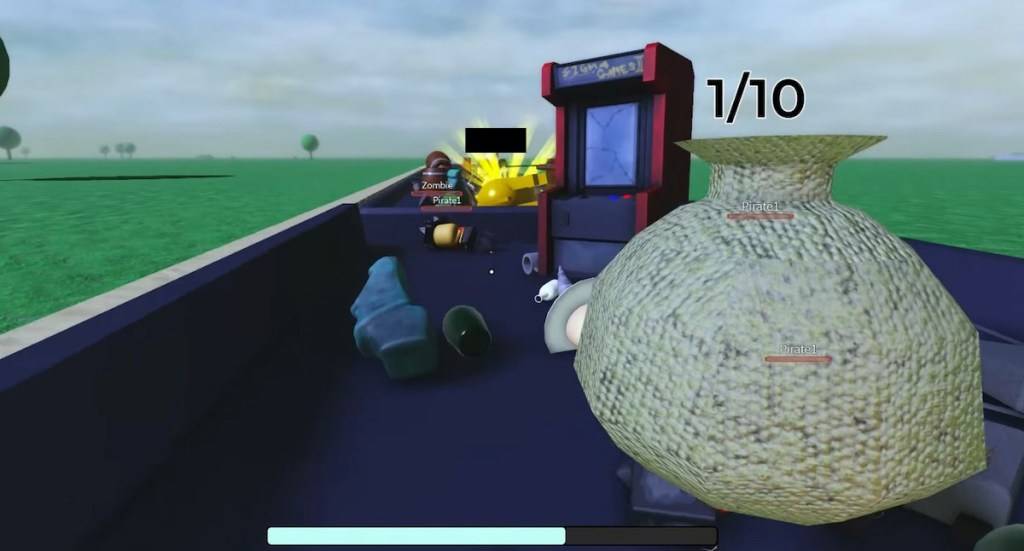 Screenshot by Destructoid
A tip that significantly improved my gameplay was stacking Zombies near the incinerator. While it's tempting to rush out of those backwater towns, efficient loot stacking can be a game-changer. Running low on fuel? Just toss a few Zombies into the incinerator and you're set.
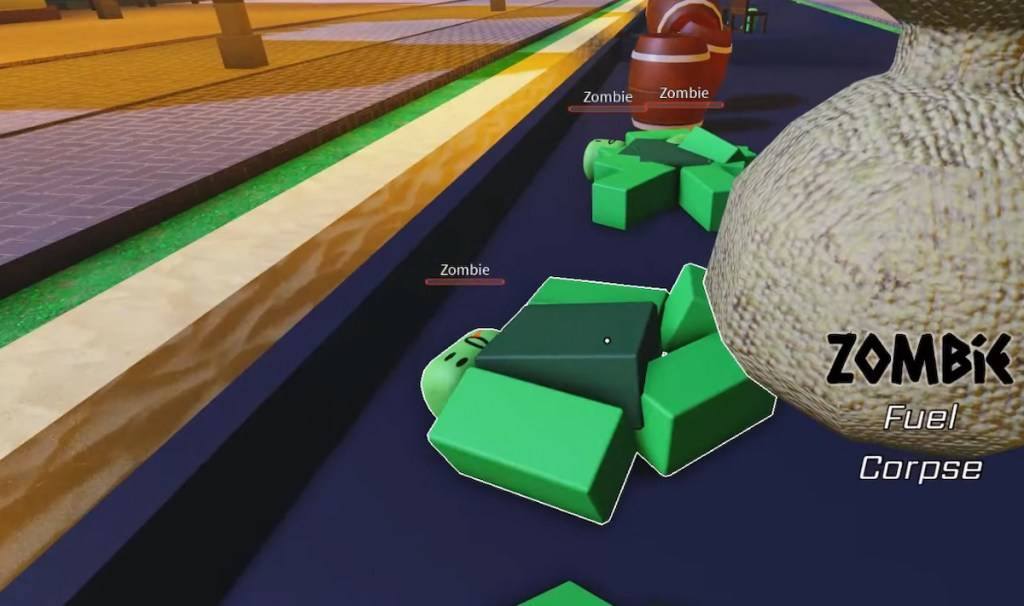 Screenshot by Destructoid
Another useful tip is to pay attention to what's happening in the Sheriff's offices. You'll often find a higher concentration of mobs, but also rewarding loot such as weapons and ammo. I was able to keep my shotgun stocked for a long time by having a friend clear the ground floor while we explored each town.
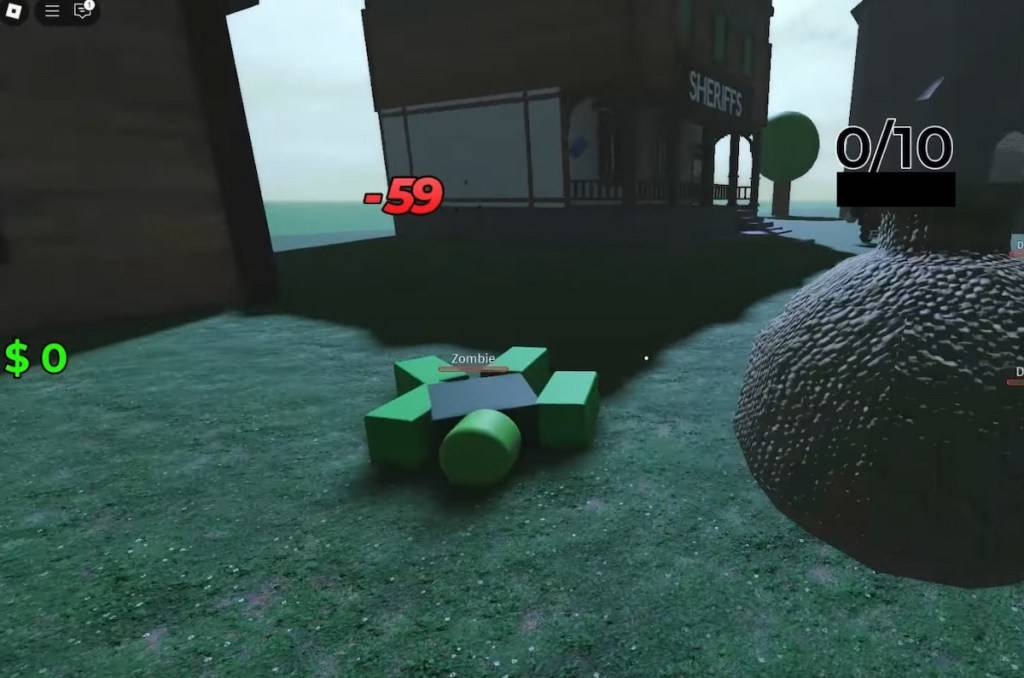 Screenshot by Destructoid
Remember to conserve your ammo, weapons, fuel, and medkits for the fortress around 25,000m. It's still under construction, making it a hotspot for ambushes. I recommend tackling it with at least three others, ideally a group of five. Be efficient when collecting loot.
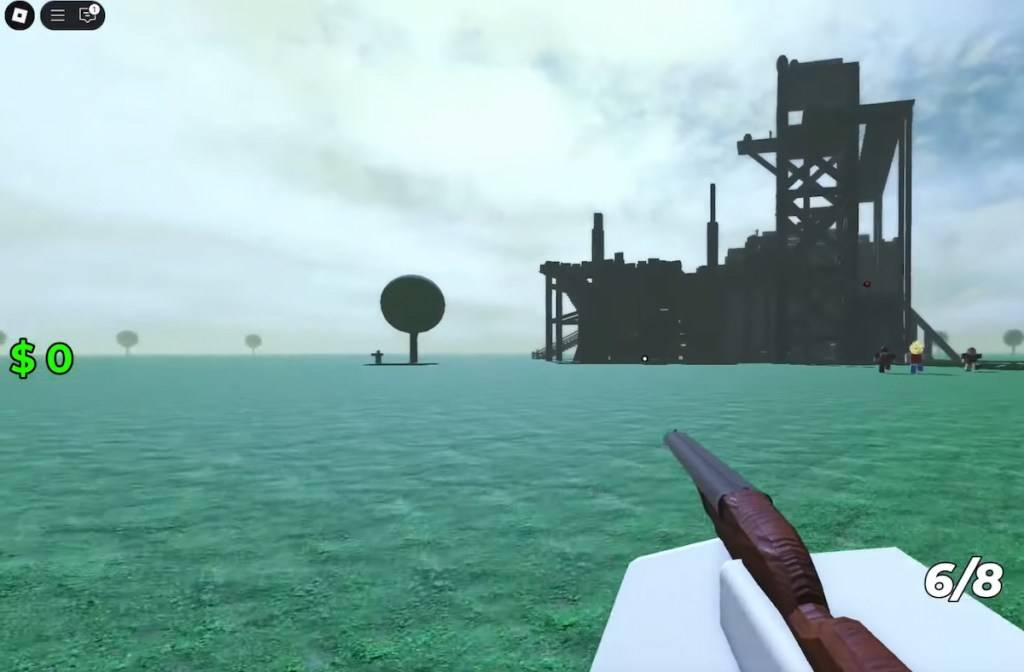 Screenshot by Destructoid
Similarly, avoid engaging Big Feet after 30,000m. They're incredibly tough, require a lot of ammo to take down, and hit hard. Don't linger too long and plan your stops wisely. Remember, loot isn't everything.
The town after 50,000m is one of my favorite spots for farming. With at least two dozen Drowned and Zombies, it's perfect for groups with Shotguns or Sawnoffs. It's also an efficient way to gather corpses for fuel, so coordinate with your team to prepare the bodies for loading quickly.
How to Defeat the Kraken Boss in Dead Sails
Before facing the Kraken, sell everything you have in the final safe zone and stock up on ammo, weapons, and medkits. Don't go easy on Zombies and Drowned—ensure you have a stash of at least 8-10 corpses for fuel during this final stretch. At around 100,000m, you'll reach open waters and be ready to confront the beast. The sign of its approach is the skies darkening.
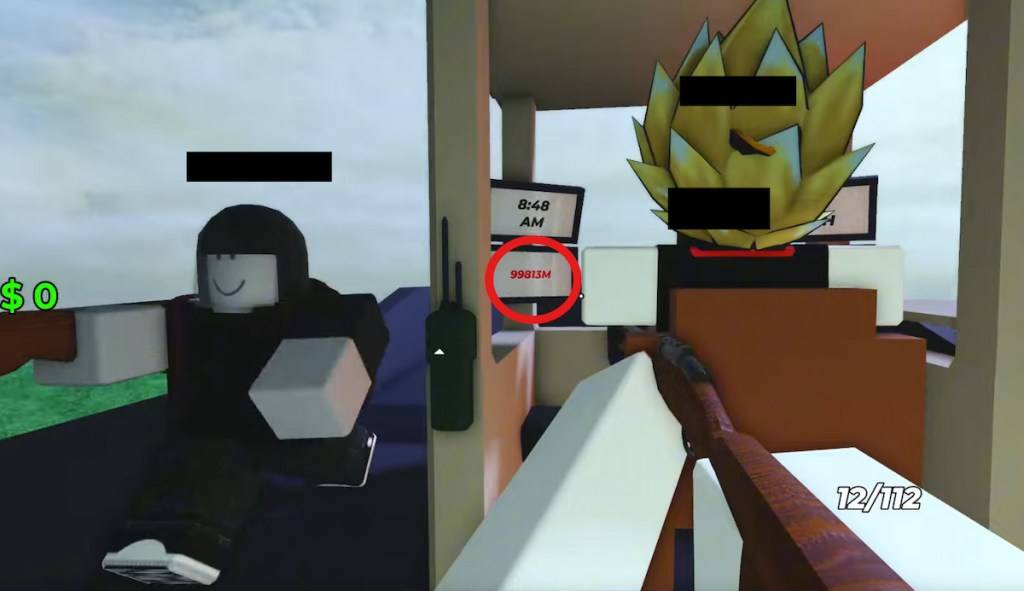 Screenshot by Destructoid
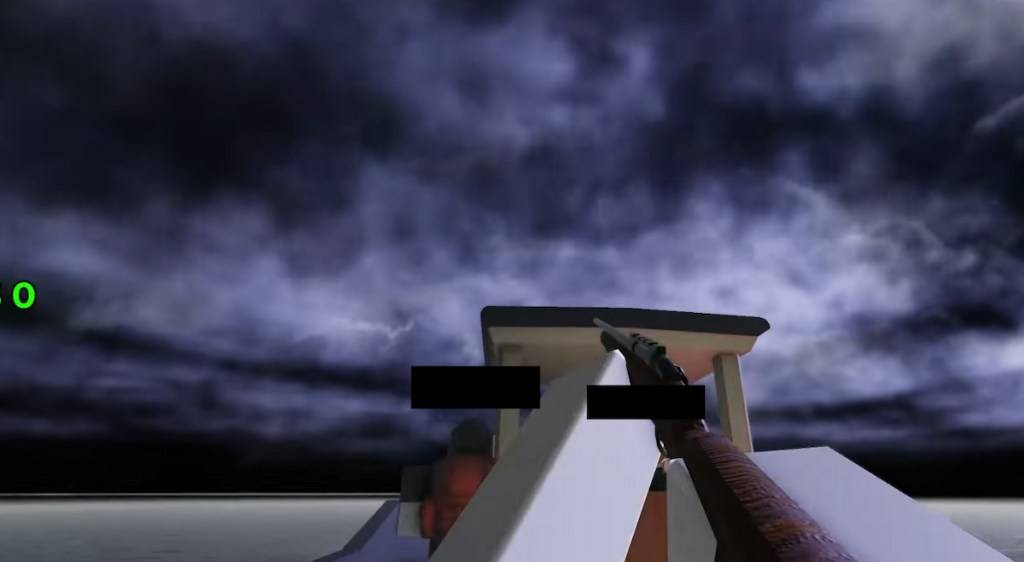 Screenshot by Destructoid
As the Kraken emerges, EVERYONE MUST TARGET a tentacle. The boss has a lot of health, and each tentacle can attack and cause damage if not repelled correctly. If you have five people, form a pentagram-like shape and each tackle a tentacle.
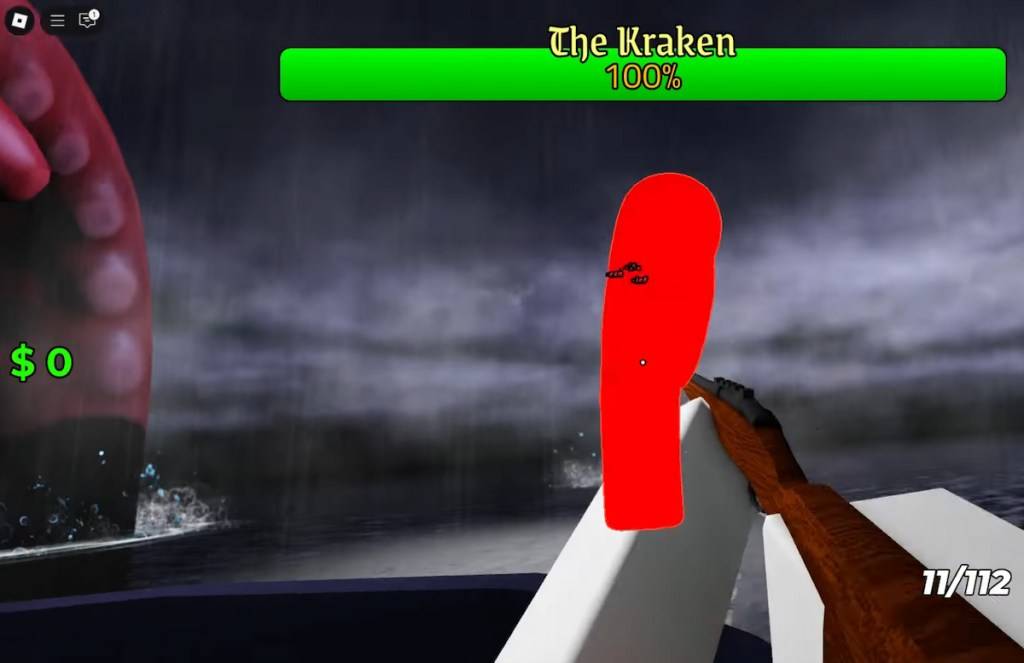 Screenshot by Destructoid
Be cautious of the water splash attack, which deals AoE damage and is signaled by the Kraken winding back and creating a water trail with its tentacle. Use medkits liberally here, as some damage is unavoidable.
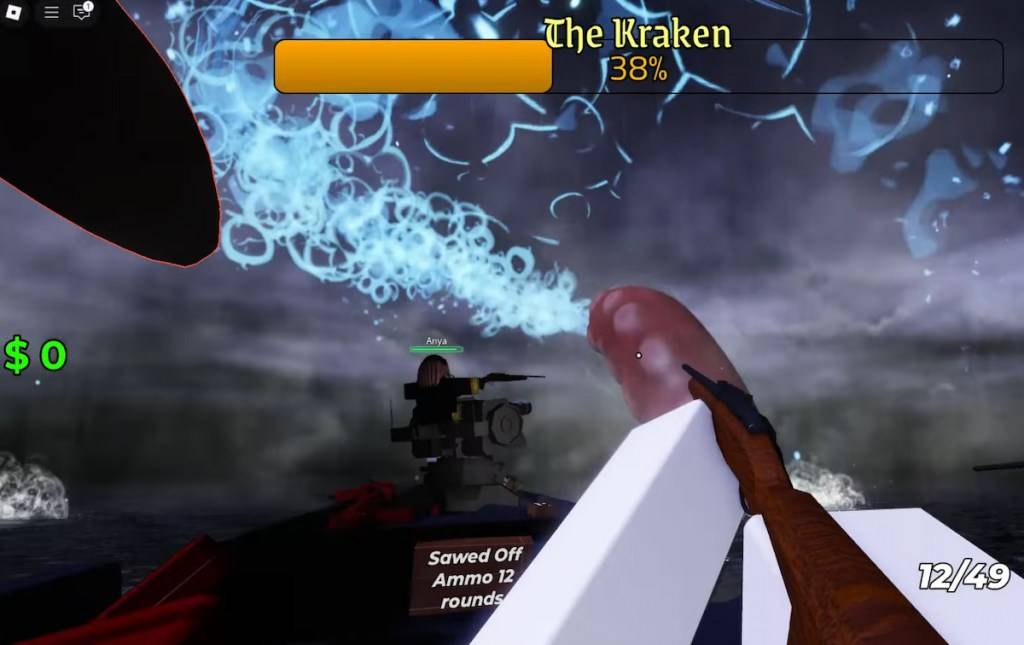 Screenshot by Destructoid
Lastly, watch out for the Roar AoE, which causes minor damage but is unblockable and seems to buff the boss slightly. You'll see it by the white concentric circles emanating from the tentacle that used the ability.
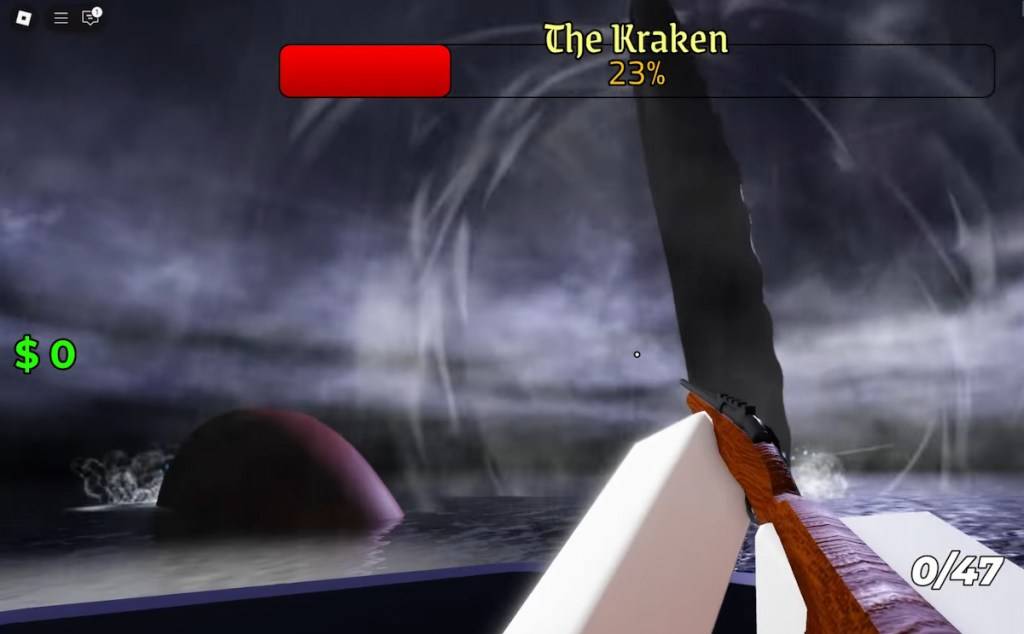 Screenshot by Destructoid
As you can see, the challenge is less daunting than it appears. That concludes my Dead Sails Kraken Guide. To speed through the boss even faster, grab one of our Dead Sails codes and see how quickly you can conquer the seas. Good luck and smooth sailing!


 LATEST ARTICLES

