As you dive into the world of *Tower Blitz*, you'll discover that each tower brings something unique to the battlefield. Starting with just one type of tower, you'll gradually unlock more, each with its own set of strengths and weaknesses. To tailor your gameplay to perfection, here’s a comprehensive tier list of all the towers in *Tower Blitz*. From the best-in-class S-Tier towers to the less effective D-Tier options, we’ve ranked them based on their abilities, cost, efficiency, and overall contribution to your gameplay experience.
Recommended Videos
Looking for more tips and tricks? Check out these recommended videos:
All Towers In Tower Blitz Ranked
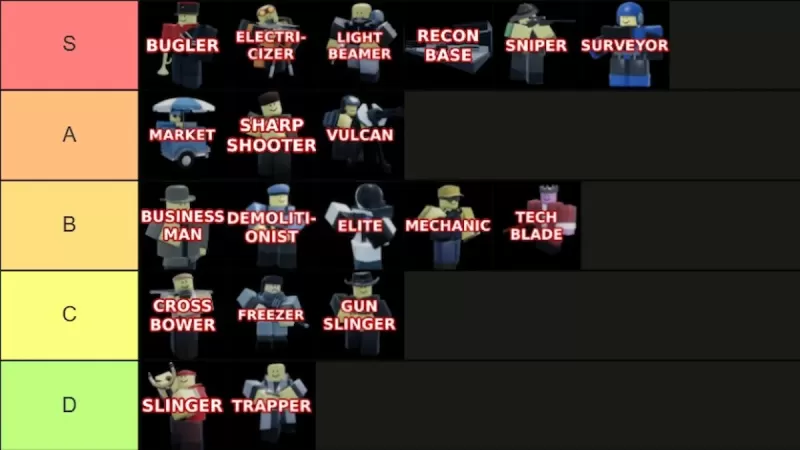
Image by The Escapist
We’ve sorted all the towers in *Tower Blitz* into five tiers—S-Tier to D-Tier—based on their performance across various maps and difficulties. **S-Tier** towers are absolute game-changers, offering unmatched power and versatility. **A-Tier** towers are solid choices but have minor drawbacks compared to the top-tier options. **B-Tier** towers fall somewhere in the middle—adequate but not exceptional. **C-Tier** towers are generally underwhelming, though some players might find niche uses for them. Finally, **D-Tier** towers are practically useless and rarely worth your investment.
S-Tier Towers
| Tower | Cost | Explanation | Pros and Cons |
|---|
 |
To unlock the tower: **2500 Tokens** (available at Level 25)
To place in-game: **750 Cash**
| The Bugler is an essential support tower that dramatically boosts the performance of nearby towers. While it excels in Expert mode, it’s not designed to buff Recon Bases. |
+ Boosts all nearby towers
+ Crucial for Expert mode
– Exclusive support function
|
A-Tier Towers
| Tower | Cost | Explanation | Pros and Cons |
|---|
 |
To unlock the tower: **1000 Tokens**
To place in-game: **650 Cash**
| Market is a mixed bag. While the top path generates consistent profits, the bottom path can lead to losses if not managed properly. |
+ Profitable in multiplayer
+ Useful in all games
– Bottom path risky
– Slow initial income
|
B-Tier Towers
| Tower | Cost | Explanation | Pros and Cons |
|---|
 |
To unlock the tower: **Complete the contract**
To place in-game: **800 Cash**
| Businessman combines damage-dealing and money-making capabilities, but it’s easily overshadowed by stronger alternatives. |
+ Dual-purpose functionality
+ Decent early-game option
– Weak late-game
– Replaceable
|
C-Tier Towers
| Tower | Cost | Explanation | Pros and Cons |
|---|
 |
To unlock the tower: **200 Tokens**
To place in-game: **400 Cash**
| Crossbower offers decent range and group control in the early game, but its damage output falls short as the game progresses. |
+ Affordable
+ Long range
– Poor late-game performance
– Weak damage
|
D-Tier Towers
| Tower | Cost | Explanation | Pros and Cons |
|---|
 |
To unlock the tower: **Free**
To place in-game: **200 Cash**
| Slinger is ideal for beginners but offers negligible value beyond the first few waves. |
+ Free
– Extremely weak damage
– Ineffective after early-game
 LATEST ARTICLES
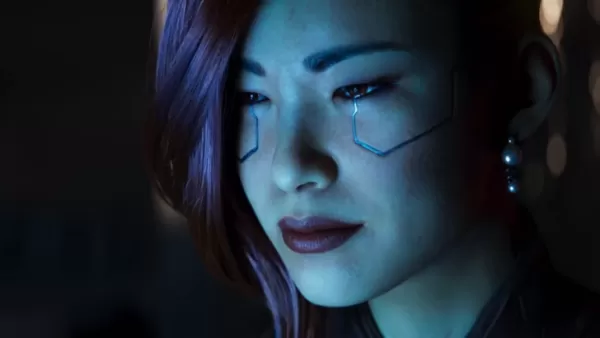
Recent cryptic teasers from Cyberpunk 2077 ignited fan speculation about a potential DLC or update, but CD Projekt Red later tempered expectations with a clarifying post. Here's a closer look at the details and the community's reaction.Cyberpunk 2077
Author: MadisonReading:2
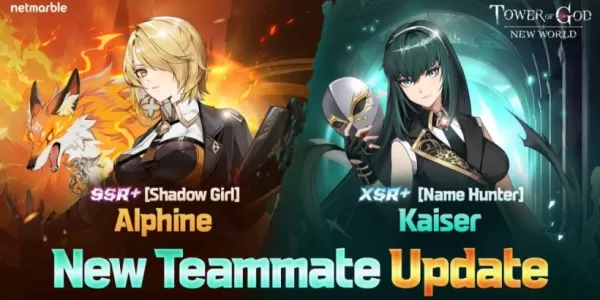
SSR+ [Shadow Girl] Alphine - A Blue Element Anima Supporter characterXSR+ [Name Hunter] Kaiser - A ranged Blue Element Anima fighterNew limited-time events accompany their arrivalFollowing the recent additions of Urek Mazino and the Princess of Zahar
Author: MadisonReading:2
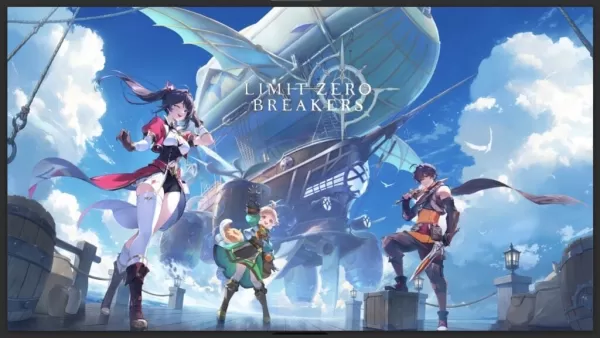
NCSOFT has opened global registrations for the closed beta test of Limit Zero Breakers. The CBT will launch on PC and Android in Q1 2026. Sign up now to give selected players early access to this anime-inspired action RPG.
Feedback from the closed be
Author: MadisonReading:2
Fortnite has finally returned to the U.S. Apple App Store for iPhone and iPad users.Epic Games announced and celebrated this milestone with a post on X/Twitter, notifying mobile gamers they can now access the popular battle royale game again after a
Author: MadisonReading:2
|